Get started with ejabberd
Installation
Before installing ejabberd make sure you have Erlang environment set up. Run the following command and verify the output
$ erl -version
Erlang (ASYNC_THREADS,HIPE) (BEAM) emulator version 5.10.1
I used to install ejabberd with apt-get command, which is convenient but always several versions behind. That’s why I switched to building from sources. All scripts below are assumed to be run under ejabberd user.
First, create a directory where all ejabberd versions will be installed, if it does not exist yet
$ sudo mkdir /opt/ejabberd
$ sudo chown -R ejabberd /opt/ejabberd
Download the sources
$ cd
$ git clone git@github.com:processone/ejabberd.git
$ cd ejabberd
Select version you want to install by executing git branch -a and git tag --list commands. Let assume we want to install version 2.1.12 from branch 2.1.x
$ git checkout 2.1.x
$ cd src
The next step is optional. If you are going to integrate ejabberd with RabbitMQ, you need to download the source of rabbitmq-xmpp module
$ wget https://raw.github.com/ndpar/rabbitmq-xmpp/rabbitmq3/src/mod_rabbitmq.erl
$ wget https://raw.github.com/ndpar/rabbitmq-xmpp/rabbitmq3/src/rabbit.hrl
Now we are ready to install ejabberd. To see all available configuration options, run ./configure --help.
$ ./configure --prefix=/opt/ejabberd/ejabberd-2.1.12 --enable-user=ejabberd
$ make
$ make install
$ cd /opt/ejabberd
$ ln -s ejabberd-2.1.12 ejabberd
Configuration
Ejabberd comes with reasonable default configuration. Only two lines need to be changed to make it work in your environment.
Open /opt/ejabberd/ejabberd/etc/ejabberd/ejabberd.cfg file and find SERVED HOSTNAMES section. By default Ejabberd is configured for localhost only. Change it to your machine’s DNS name. Here is what I have in my config
%%%'   SERVED HOSTNAMES
{hosts, ["jabber.ndpar.com"]}.
The second thing we need to do is to configure admin user. Here is mine, registered for the host I just defined
%%%'   ACCESS CONTROL LISTS
{acl, admin, {user, "andrey", "jabber.ndpar.com"}}.
Save the config file and start the server
$ /opt/ejabberd/ejabberd/sbin/ejabberdctl start
You can quickly check the log file to see if the server has been started successfully
$ less /opt/ejabberd/ejabberd/var/log/ejabberd/ejabberd.log
If it wasn’t, you might want to enable debug logs
%%%'   DEBUGGING
{loglevel, 5}.
and restart the server to see more details
$ /opt/ejabberd/ejabberd/sbin/ejabberdctl restart
Registering users
The first (admin) user has to be registered in command line
$ cd /opt/ejabberd/ejabberd/sbin
$ ./ejabberdctl register andrey jabber.ndpar.com ******
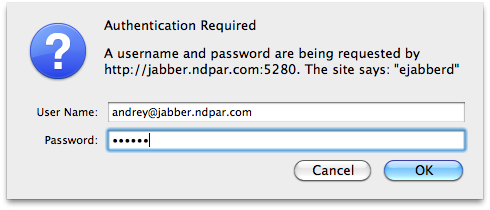
This user is the same as admin you configured in the previous section. If you go to localhost:5280/admin in the browser, you should be able to login with the same password you registered the user
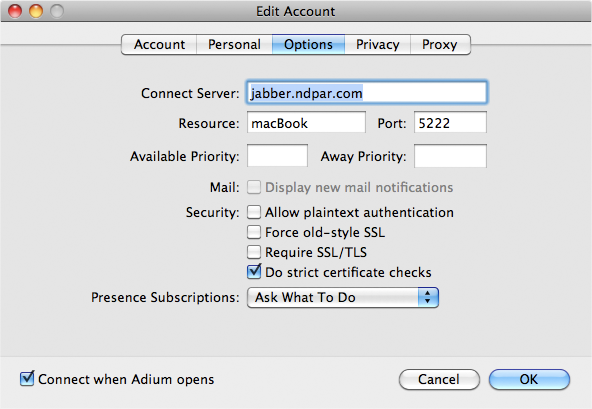
Now you are ready to add newly created account to your Jabber client. In Adium, for example, go to File -> Add Acount -> Jabber and provide server hostname/IP, JID and password.

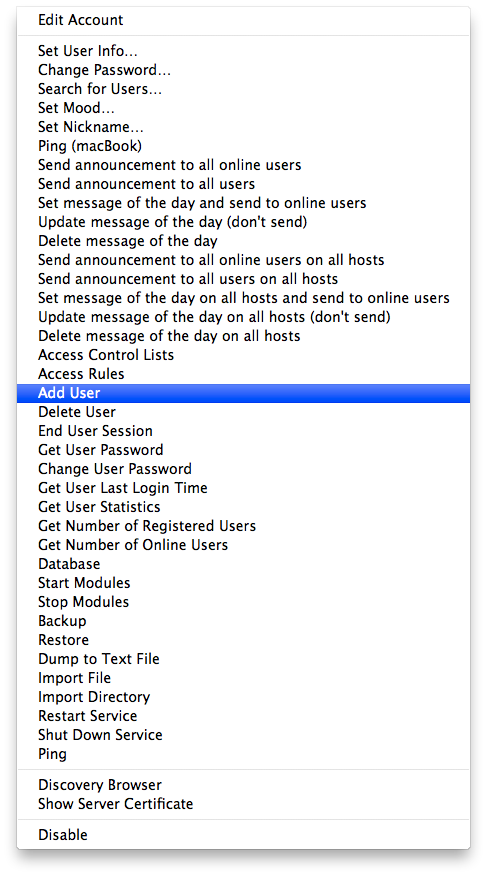
To really enjoy IM you need more users on your server. The best part here is that you can create new users just from your Jabber client. Simply go to File -> your ejabberd account -> Add User
For other available options please consult official documentation.